UPSC Photo, Signature and Photo ID Upload Size for the Online Application
By Bishal Neupane · · 7 min read
UPSC's Common Application Form on upsconline.nic.in asks for three files: a passport-size photo, one image containing your signature three times, and a photo ID card as a PDF. Each has a minimum and a maximum size, and the photo and signature also have content rules that reject more applications than the KB limits do. This guide lists the current specifications with their official sources, then shows how to meet each one with free browser tools.
UPSC upload limits at a glance
From UPSC's instructions for uploading the photo and signature on the CAF portal and the UPSC online application FAQ, checked in November 2026:
- Photograph: colour JPG, 20 KB to 200 KB, saved with the filename photo. Your face must cover at least 75% (three-quarters) of the image, on a plain white background, looking straight at the camera with both ear lobes visible.
- Live photograph: mandatory. You capture it with your device's webcam or by scanning a QR code with your phone, and UPSC matches it against the uploaded photo. A mismatch stops the application.
- Signature: sign three times, one below the other, in black ink on plain white paper, scanned as a single JPG named signature, 20 KB to 100 KB, image dimensions 350 to 500 pixels.
- Photo identity card: PDF only, 20 KB to 300 KB (FAQ questions 43 and 47).
Exam notifications such as the Engineering Services 2027 notification still quote the older, looser figure of 20 to 300 KB for the photo and signature. The CAF upload page enforces the narrower ranges above, and a file inside them satisfies both, so work to the CAF numbers.
UPSC says applications with signature files outside the specification will be rejected. Stay clearly inside every range rather than right at its edge.
Photo: 20 to 200 KB with 3/4 face coverage
The KB range is generous; the crop is what gets people rejected. UPSC's sample sheet marks photos as rejected when the face is too small in the frame, misaligned, too close, or blurred.
- Take or choose a recent colour photo against a plain white wall, head centred, both ears visible, neutral expression, no dark glasses or cap.
- In your phone's Gallery or Photos app, crop until your face fills about three-quarters of the picture. Leave a little space above the hair and include the shoulders at the bottom edge.
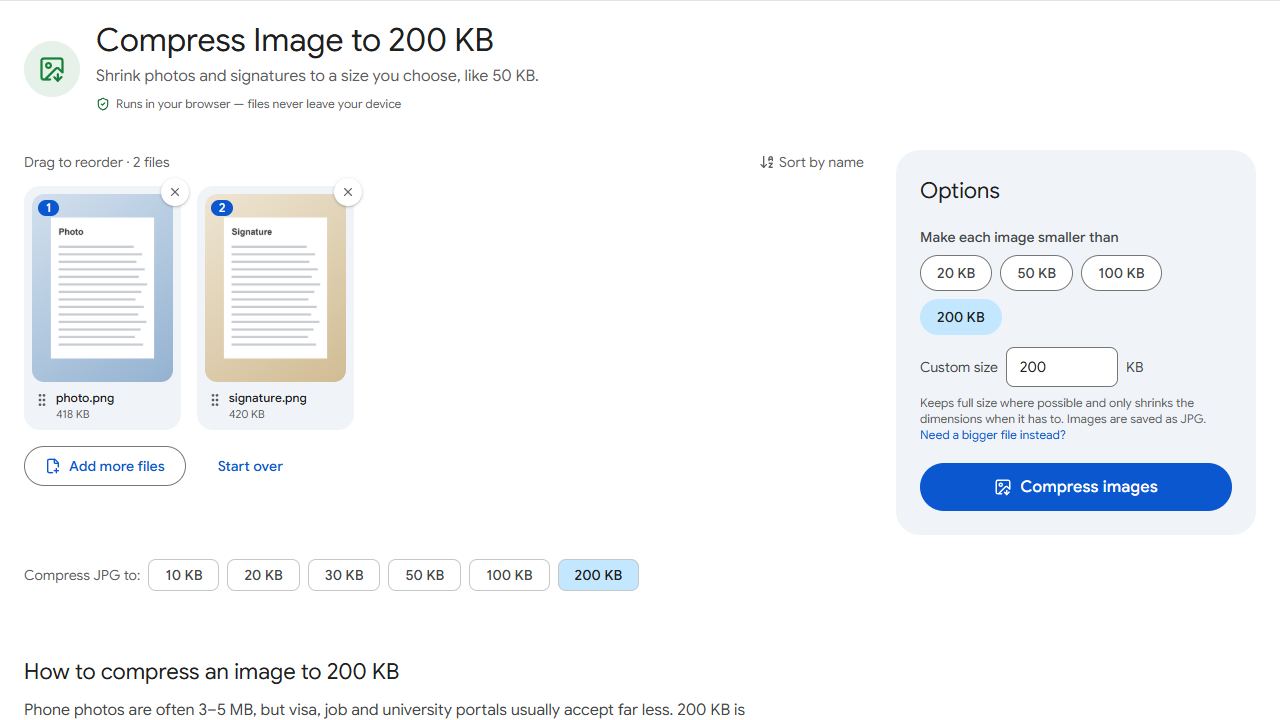
- Open Compress Image to 100 KB, add the photo and click Compress images. Phone photos of several MB come down to 100 KB with no visible loss, which sits comfortably inside the 20 to 200 KB range.
- Download the JPG and rename it photo.jpg before uploading.
The result card shows the final size and the pixel dimensions. If the file comes out under 20 KB (rare, but possible with a small crop), run it through Increase JPG Size with a 25 KB minimum.
Triple signature: 20 to 100 KB, 350 to 500 pixels
UPSC rejects signature images that are horizontal, in blue ink, on ruled or coloured paper, blurred, rotated, too close together, or that contain only one signature. Do it on paper first:
- On plain white unlined paper, sign three times in black ink, one signature below the other, with a clear gap between them.
- Photograph the sheet in daylight, straight on, or scan it. All three signatures go in one image.
- Crop in your gallery app to the three signatures with a small white margin, keeping the image upright.
- Resize the crop in the gallery app so its width is between 350 and 500 pixels (about 450 is a safe middle). PDFCraftly compresses but doesn't set exact pixel sizes, so this step happens on the phone.
Then open Compress JPG, type 60 into Target file size and add the image. At roughly 450 pixels wide, a black-on-white signature compresses to 60 KB at high quality without the tool needing to shrink it, so the dimensions you set are preserved. Confirm the width × height on the result card is still between 350 and 500 pixels, download, and rename the file signature.jpg.
Below 20 KB? A sharp black-and-white image is small by nature. Increase JPG Size pads it to a 25 KB minimum without touching the picture.
Photo ID as a PDF between 20 and 300 KB
The ID card (Aadhaar, PAN, voter ID, passport or driving licence) must be uploaded as a PDF, not a JPG. Two routes:
- From a photo of the card: open JPG to PDF, add the picture (both sides if you have them) and download a single PDF.
- From a scan: Scan to PDF uses your phone camera and gives you a PDF directly.
Then check the size. A phone photo turned into a PDF is usually 1 to 3 MB, so run it through Compress PDF to 300 KB. The tool reports the final size so you know it passed. If you're using a downloaded card PDF instead, it can be surprisingly small; if it's under 20 KB, Increase PDF Size pads it to a minimum you set, say 30 KB, without changing the pages.
Downloaded e-Aadhaar PDFs are password-protected, and upload portals generally can't open protected files. Remove the password with Unlock PDF first; the password rule is explained in e-Aadhaar PDF password. If the e-Aadhaar runs to several pages, keep just the card page with Extract Pages.
Live photo capture and the match check
UPSC's instructions make the live photo compulsory and state that it is matched with the uploaded passport photo. Capture it in good light with your face clearly visible, using the same framing as the photo you uploaded: looking straight at the camera, no glasses or cap. If a laptop webcam is poor, choose the Capture from mobile option, scan the QR code and use your phone camera instead.
Once a live photo is saved, the View Photo option lets you check it. Upload the passport photo you'll actually look like on the day; a years-old picture is the usual cause of a mismatch.
Before you press submit
- Filenames: photo.jpg and signature.jpg, as the instructions specify.
- Formats: JPG for the photo and signature, PDF for the ID. Nothing else is accepted.
- Sizes: photo 20 to 200 KB, signature 20 to 100 KB and 350 to 500 pixels, ID PDF 20 to 300 KB.
- Preview each upload on the confirmation page. UPSC's FAQ notes that poor-quality images can get the application rejected, and that changes after confirming are only possible in the correction window.
All the conversions above run inside your browser, so your ID card and photo stay on your own device. For the general method, see how to compress a PDF and how to reduce photo size in KB.
Common problems and fixes
- The portal rejects my photo for face coverage.
- Crop tighter in your gallery app until your face fills about three-quarters of the image, with both ears visible and the head centred, then compress again with Compress Image to 100 KB.
- My signature file is over 100 KB.
- Resize it to about 450 pixels wide in your gallery app first, then set a 60 KB Target file size in Compress JPG. Check the result card still shows 350 to 500 pixels.
- The signature compressed fine but is under 20 KB.
- Black ink on white paper makes very small JPEGs. Pad it with Increase JPG Size to a 25 KB minimum; the signatures themselves are unchanged.
- My Aadhaar PDF won't upload as the photo ID.
- Remove the password with Unlock PDF, keep only the card page with Extract Pages, and bring the size into 20 to 300 KB with Compress PDF to 300 KB or Increase PDF Size.
Frequently asked questions
A colour JPG between 20 KB and 200 KB, named photo, with your face covering at least 75% of the image on a plain white background, according to the CAF upload instructions.
One JPG named signature containing three signatures stacked vertically in black ink, between 20 KB and 100 KB, with image dimensions of 350 to 500 pixels.
PDF only, between 20 KB and 300 KB, per the UPSC online application FAQ. JPG uploads of the ID are not accepted.
Follow the CAF upload instructions, which are what the portal enforces: 20 to 200 KB for the photo and 20 to 100 KB for the signature. Files in those ranges also satisfy the notification's 20 to 300 KB wording.
No. The compressors, converters and padding tools run in your browser, so your photo, signature and ID card stay on your device.